

Hey there! I'm part of a 3D scan room supplier, and I'm super stoked to share with you how to create a 3D print from a 3D room scan. It's a pretty cool process that combines the latest tech with a whole lot of creativity.
First off, let's talk about why you'd even want to do this. Maybe you're an architect who wants to create a physical model of a building you're designing. Or perhaps you're a museum curator looking to reproduce a historical room for an exhibit. Whatever the reason, turning a 3D room scan into a 3D print can bring your ideas to life in a whole new way.
Step 1: Get a Quality 3D Room Scan
The foundation of a great 3D print is a high - quality 3D scan. At our company, we've got some top - notch scanners that can capture every nook and cranny of a room with amazing detail. We use advanced laser scanning and photogrammetry techniques. Laser scanning works by emitting a laser beam that bounces off the surfaces in the room. The scanner then measures the time it takes for the laser to return, which helps create a precise 3D map of the space. Photogrammetry, on the other hand, takes multiple photos of the room from different angles and uses software to stitch them together into a 3D model.
One thing to keep in mind is the lighting in the room. Good lighting is crucial for getting a clear scan. Too much glare or shadows can mess up the data and result in a less accurate model. We usually recommend diffused, even lighting for the best results.
Step 2: Process the Scan Data
Once you've got your 3D scan, the next step is to process the data. This involves cleaning up the scan to remove any noise or artifacts. There are some really great software tools out there that can help with this. Programs like MeshLab are free and can do a pretty good job of smoothing out the model and getting rid of any unwanted parts.
After cleaning, you might want to make some adjustments to the model. Maybe you want to add some details that were missed in the scan or simplify the model if it's too complex for printing. This is where your creativity comes in. You can use 3D modeling software like Blender, which is also free and has a ton of features for editing and customizing 3D models.
Step 3: Prepare the Model for Printing
Before you can send your model to the 3D printer, you need to prepare it. This means converting the model into a format that the printer can understand. The most common format is STL (Stereolithography). Most 3D modeling software can export models in this format.
You also need to think about the size and orientation of the model. Depending on the size of your printer's build volume, you might need to scale the model down. And the orientation of the model can affect how it prints. For example, if you have a long, thin part of the model, printing it horizontally might be better than vertically to avoid issues with support structures.
Step 4: Choose the Right 3D Printing Technology
There are several 3D printing technologies out there, and each has its own pros and cons. Fused Deposition Modeling (FDM) is one of the most popular and affordable options. It works by melting a plastic filament and extruding it layer by layer to build the model. It's great for creating functional parts and prototypes.
Stereolithography (SLA) uses a laser to cure a liquid resin, creating very detailed and smooth models. It's more expensive than FDM but is perfect for models that require high precision and a smooth finish.
Selective Laser Sintering (SLS) uses a laser to sinter (fuse) powdered material, usually nylon. It can create strong and complex parts without the need for support structures.
Step 5: Print Your 3D Model
Once you've chosen the right technology and prepared your model, it's time to hit that print button! Make sure you've loaded the right material into the printer and set the correct printing parameters. This includes things like the layer height, print speed, and temperature.
During the printing process, it's a good idea to keep an eye on the printer. Sometimes, things can go wrong, like the filament getting jammed or the print coming loose from the build plate. If you notice any issues, you can usually pause the print and make the necessary adjustments.
Step 6: Post - Processing
After the print is done, you'll likely need to do some post - processing. This can include removing any support structures, sanding the model to smooth out the surface, and painting it if you want to give it a more finished look.
Post - processing can really take your 3D print to the next level. For example, if you've printed a model of a room, you can add some details like furniture or wall decorations to make it look more realistic.
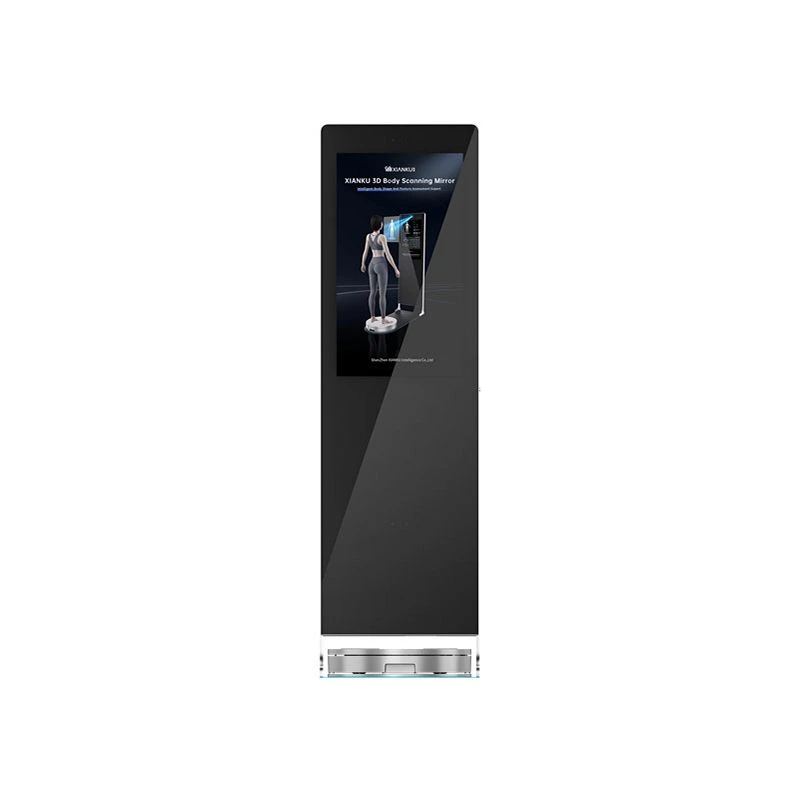
Now, let me tell you about some of the other cool 3D scanning products we offer. We have a 3D Body Scanning Mirror that can capture a person's body in 3D. This is great for the fashion industry, fitness centers, or even for creating custom - made clothing.
We also have a Healthy 3D Customized Pillow. Using 3D scanning technology, we can create a pillow that's customized to the shape of your head and neck, providing better support and comfort.
And if you're interested in foot health, our 3D Foot Scanner can help. It can accurately measure the shape of your feet, which is useful for creating custom - made orthotics or shoes.

If you're interested in any of our 3D scanning services or products, or if you have any questions about creating a 3D print from a 3D room scan, don't hesitate to reach out. We're here to help you turn your ideas into reality. Whether you're a small business owner, a designer, or just someone with a cool project in mind, we've got the expertise and technology to make it happen.
References
- "3D Printing: The Next Industrial Revolution" by Chris Anderson
- "3D Scanning Handbook" by some industry experts (Sorry, can't remember the exact author at the moment!)